Showing posts with label menswear. Show all posts

Thursday, 10 May 2018

17th Century men’s cape


Pattern: improvised
Fabric: 1.9 m wool fabric
Haberdasheries: 4.75 m gold lace, 1.75 m cotton cord and two cotton tassels


For the event ‘Battle for Grol’ that my 
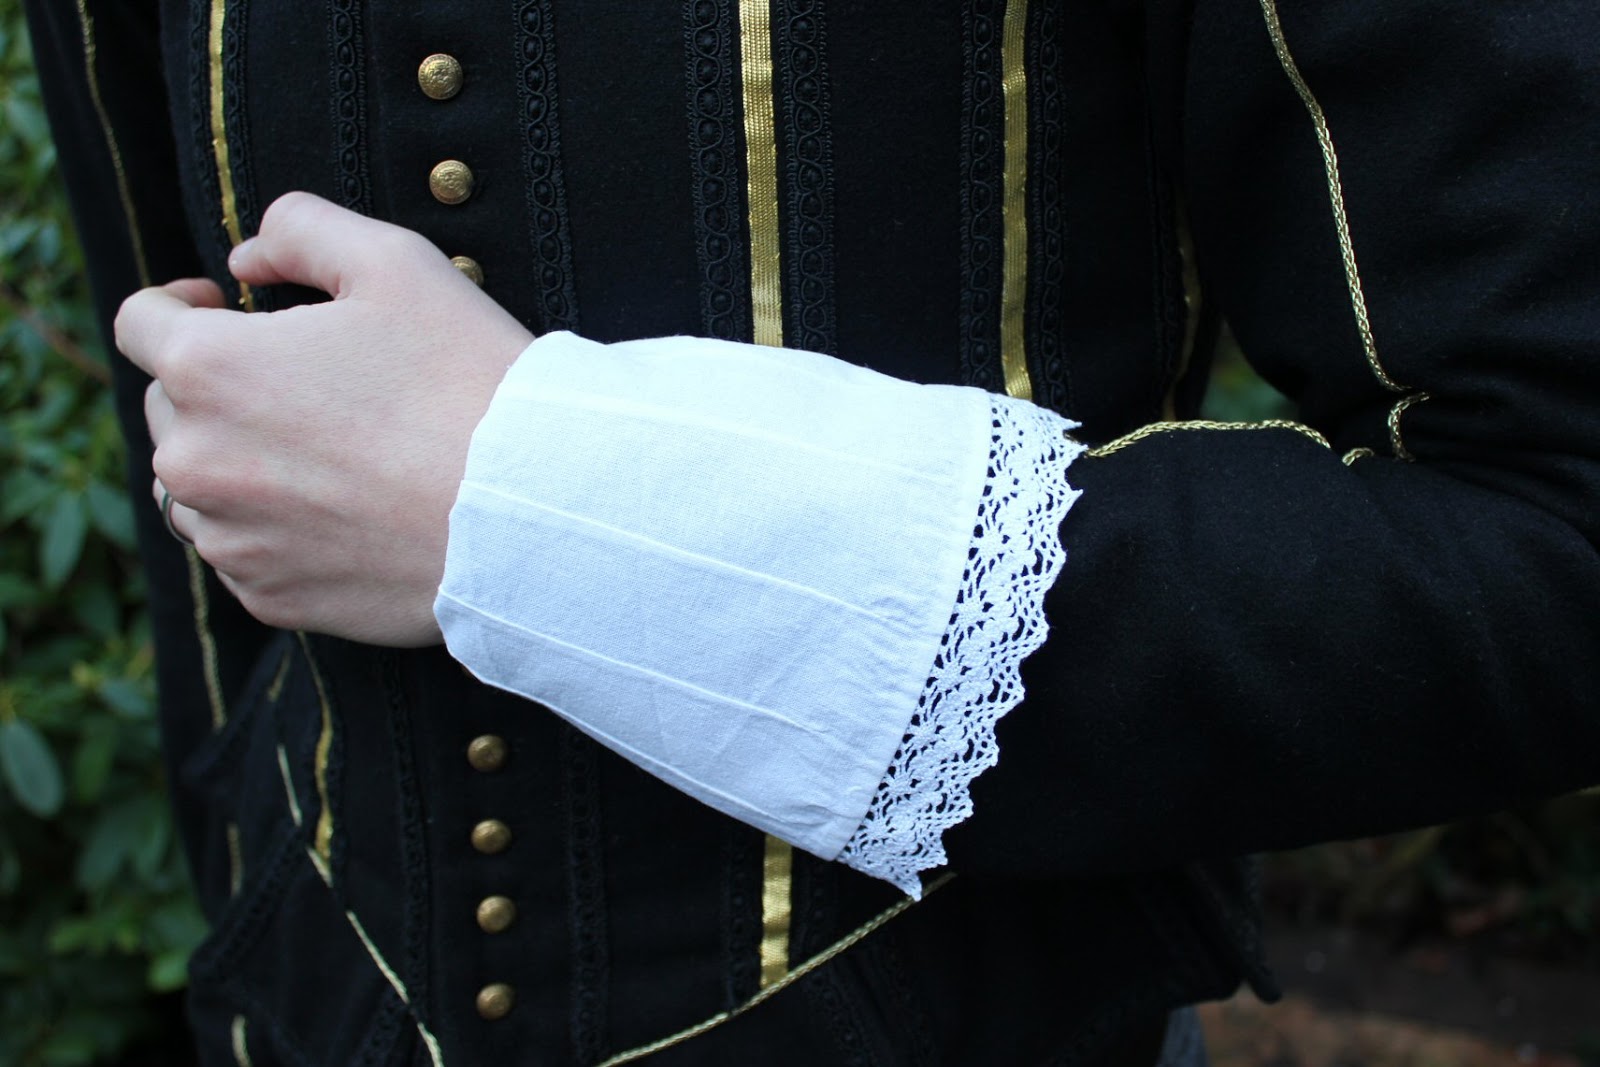
husband and I attended last October, besides a ruff and cuffs, I also made him a cape (to be worn over one shoulder in a swanky fashion).
In the past, I let my sewing get out of hand, often júst not finishing projects in time for events (just getting them to the ‘wearable’ stage but without lining, for instance), but starting to work on new projects after those events, rather than finishing the previous one. I’ve been determined for a while now, while also trying to finish these UFOs I’ve had lying around, to NOT let any more UFOs originate, but finish each new project straight away. Unfortunately that failed with this project, as I dyed the natural coloured tassels and cord dark green, but the colour didn’t turn out exactly right, and then I lost my notes and couldn’t find them for months! Finally, I decided to just guess what I did then, and dyed the tassels again; this time it worked out exactly right.


The cape itself is a simple half circle, with a small half oval cut out at the centre back, for the neckline. The collar is a rectangle consisting of two pieces of wool measuring 12.5 by 54.5 cm. I hand sewed the gold lace onto it, then lined it, so it hangs smoothly.


As I said, I bought natural-coloured cotton cord and tassels. The tassels were attached to short loops for use on curtains, so I removed those and sewed the tassels onto the longer cord, and then proceeded to dye them. I had Dylon hand laundry textile paint in dark green and black, and used about the amount necessary to dye fabric weighing what the cord and tassels weighed, with green and black dye in equal measures. But I didn’t realise that much of the weight of the cord was on the inside of the cord, while only the outside would be exposed to the dye. Therefore, I assumed I had used too much paint and the items would probably end up black instead of dark green if I left them in the dye for the specified amount of time. Also, the items looked like they were getting really dark. So I took them out much earlier, but it turned out that most of the black dye rinsed out, and once they had dried, the colour was too light :(, as you can see on the photos taken at the event.
Recently I dyed the tassels again, again using equal amounts of each dye, but left them in a bit longer (still not the full hour, though). Sewed them back on, and then the cape was finally finished!


Wednesday, 28 February 2018

My Make Nine 2018 choices


A few years ago I took part in Lucky Lucille’s Sew For Victory and Spring For Cotton sewalongs. Here’s another one that seems nice to take part in, especially as her website states “This is a gentle challenge. It’s not one that you can fail. It’s meant to be flexible”! =) I’ve been trying my best not to stress myself by imposing deadlines on myself anymore, so a gentle challenge is the only thing I want to be going for…

Here are my choices, though in no particular making order!


Project #1: 1920s-40s knitted men’s slipover
I’d like for my husband to have a full civilian outfit for both the 1920s and 1940s, and this is the first part of it. This project’s already on the needles!

Project #2: Napoleonic short cloak
Last year I made a 17th century cape for my husband, and I’ve got enough left of the wool fabric to make myself a short cloak for another era. Since I always borrow his Napoleonic cape, it would be nice for both of us if I had one of my own!

Project #3: A new 1940s dress
I’ve been (occasionally) doing World War 2 events for a few years now, but there aren’t that many clothes in my 1940s wardrobe yet, and even fewer that are a colour that actually suits me! So I want to make a new 1940s dress in a nice bright colour pattern. My husband and I have been taking 1910s-40s dancing lessons, and I'd like to go to a lindy hop party in full 1940s attire.

Project #4: 1920s party dress
Last year I went to a nice historical clothing exhibition at the Centraal Museum in Utrecht (well, actually it was both historical and more recent fashion, but I largely ignored the contemporary pieces! :P), where I saw, among other things, this lovely 1920s dress that I’d like to recreate. Probably in blue, though. I’d love to wear this dress to a 1920s party!

Project #5: The Drawers of Doom
(Imagine dramatic background music) These are the drawers of my fabric cupboard. There are four of them. And since they are full of UFOs and bought clothes needing alteration (yes, all four of them!) I call them the Drawers of Doom (D.o.D.). This year, one of the main sewing related things I’d like to do is to get the D.o.D. a lot emptier than they are now! Then I could do something nice and handy with these drawers, such as storing my yarn stash in them =).

Project #6: Brasov wrap top
I really like Welmode’s Brasov top, and would like to make one as well.

Project #7: Underwear!
For years now, I’ve had trouble finding nice underwear, so I thought I’d have a go at making it myself. It would be awesome, once I’ve got a good pattern, to never have to look for underwear that it exactly to my liking, again!

Project #8: WW2 QAIMNS uniform
I’ve got two World War 1 nurse uniforms, and a Boer War one, and since I already bought suitable fabric for a WW2 version a couple of years ago, and had a look at an original last year, why not make the WW2 one as well? I suppose this project has the lowest priority, though, as I haven’t got any WW2 nurse events planned yet.

Project #9: It Cannot Fail To Please sweater
As I said under #3, I’m hoping to add more deep winter colours to my 1940s wardrobe, so I’ll be making this in dark pink.

Wednesday, 20 December 2017

17th Century cuffs and ruff

Pattern: improvised
Fabric: a 4.5 m long strip of fine cotton, and small pieces of fine cotton
Haberdasheries: six metal hooks


For the event ‘Battle for Grol’ that my husband and I attended this October, I added some new cuffs and a ruff to his wardrobe. He already had a flat, mid-17th century style collar, but since the siege at Grol took place in 1627, a ‘millstone’ ruff (translated from the Dutch ‘molensteen’) seemed more appropriate to us, and also, not many re-enactors wear these, even though they were very typical for the period (certainly in the Netherlands) and can be seen in many paintings.

I used fine cotton, rather than linen, for both the cuffs and ruff, both because the quality of linen that was used for these accessories at the time is unavailable nowadays, and because I know from my experience with my nurse uniforms that this cotton starches well.

For the cuffs, I cut rectangular pieces of fabric measuring 15 by 34 cm, and 8 by 23.5 cm for the wristbands. I sewed nine pleats into each cuff to give them the right shape, then attached the wristbands, and sewed on hooks and worked eyelets in such a way that the wristbands can be closed on the inside of the cuffs, and are not visible when worn.


For the ruff, I hand hemmed a 4.5 m long strip of fabric, then divided the strip into 8-shapes, hand sewed the 8-shapes together (in the 17th century, droplets of wax would have been used for this), and attached them to a neckband. I added metal hooks and worked eyelets for closing the neckband, as well.

I forgot to take photos of the cuffs before the event, so on these photos they’re wrinkled from laundering. I did actually iron them, though you wouldn’t say…


Saturday, 26 August 2017

A 17th century men’s shirt


Pattern: based on the 1659 shirt worn by Claes Bielkenstierna in Janet Arnold’s Patterns of Fashion 4
Fabric: fine white linen
Haberdasheries: 50 cm narrow white tape, two hooks

My husband is ‘chief commander’ of the commemorative battle for the siege of Grol (het beleg van Grol, in Dutch) at Groenlo, meaning he coordinates the battle, and as such, I decided he could no longer do without a proper 17th century shirt. Even though no one sees what he wears underneath his suit.

As I want to be able to attach different styles of collars and cuffs to the shirt, I wanted a very basic shirt, without lace ruffles and the like. So I decided to use pattern 15 from the excellent Patterns of Fashion 4, a ca. 1659 shirt worn by Claes Bielkenstierna. This had the typical characteristics of shirts from the period (also the earlier period, which was necessary as the siege of Grol took place in 1627) but no frills. 
I measured the pattern and found that the circumference of the shirt was 2 metres! I know shirts were very wide in the past, unlike the jackets that went over them, but as my husband’s build is very slim, and pictures of Bielkenstierna showed he was rather rotund, I reckoned I could make my version of the shirt a little narrower. Otherwise I mostly did as the pattern description said. These were the pieces of linen I cut (the photos in this post are pretty terrible; somehow my camera seemed to have trouble with the bright white!):


Dimensions (incl. seam allowances):

1: Body: 85 x 200 cm (cut 1)
2: Sleeves: 60 x 59 cm (cut 2)
3: Sleeve gussets: 14.5 x 14.5 cm (cut 2)
4: Collar: 9 x 43.25 cm (cut 1)
5: Shoulder piece for reinforcement: 7,5 x 20,5 (should have gotten narrower to 4,5 cm at the neck; cut 2)
6: Cuffs: 7 x 23 (cut 2)
7: Bottom side seam gussets: 5 x 5 cm triangles + seam allowance (cut 2)
8: Extra shoulder reinforcement pieces; unused

This is the shirt before I gathered the neckline. The shoulder seam on shirts like these tended to hang off the shoulder, but without gathers, she shoulders would have been very wide!


And after gathering the neckline and attaching the collar and tapes:


I worked a bar reinforcement at the bottom of the front opening. The original shirt had a ‘spider’ reinforcement, which I tried before on an underdress I made for myself, but this is another style that was also used in the period.


The shirt was sewn by machine, with all hemming, topstitching, and the above reinforcement, done by hand.


Through modern eyes, a shirt like this is almost a dress! But the shirt would have been wrapped between the legs before putting on trousers, and used instead of underpants.


The original shirt had tapes at the cuffs as well as at the collar. But I replaced the cuff tapes by hooks and thread loops, because it seemed very inconvenient for my hubby to not be able to close his own cuffs.


I embroidered my hubby’s initials, and a 4 for the fact that this is the fourth shirt I’ve made for him.